Scrap Granulator Maintenance Checklist
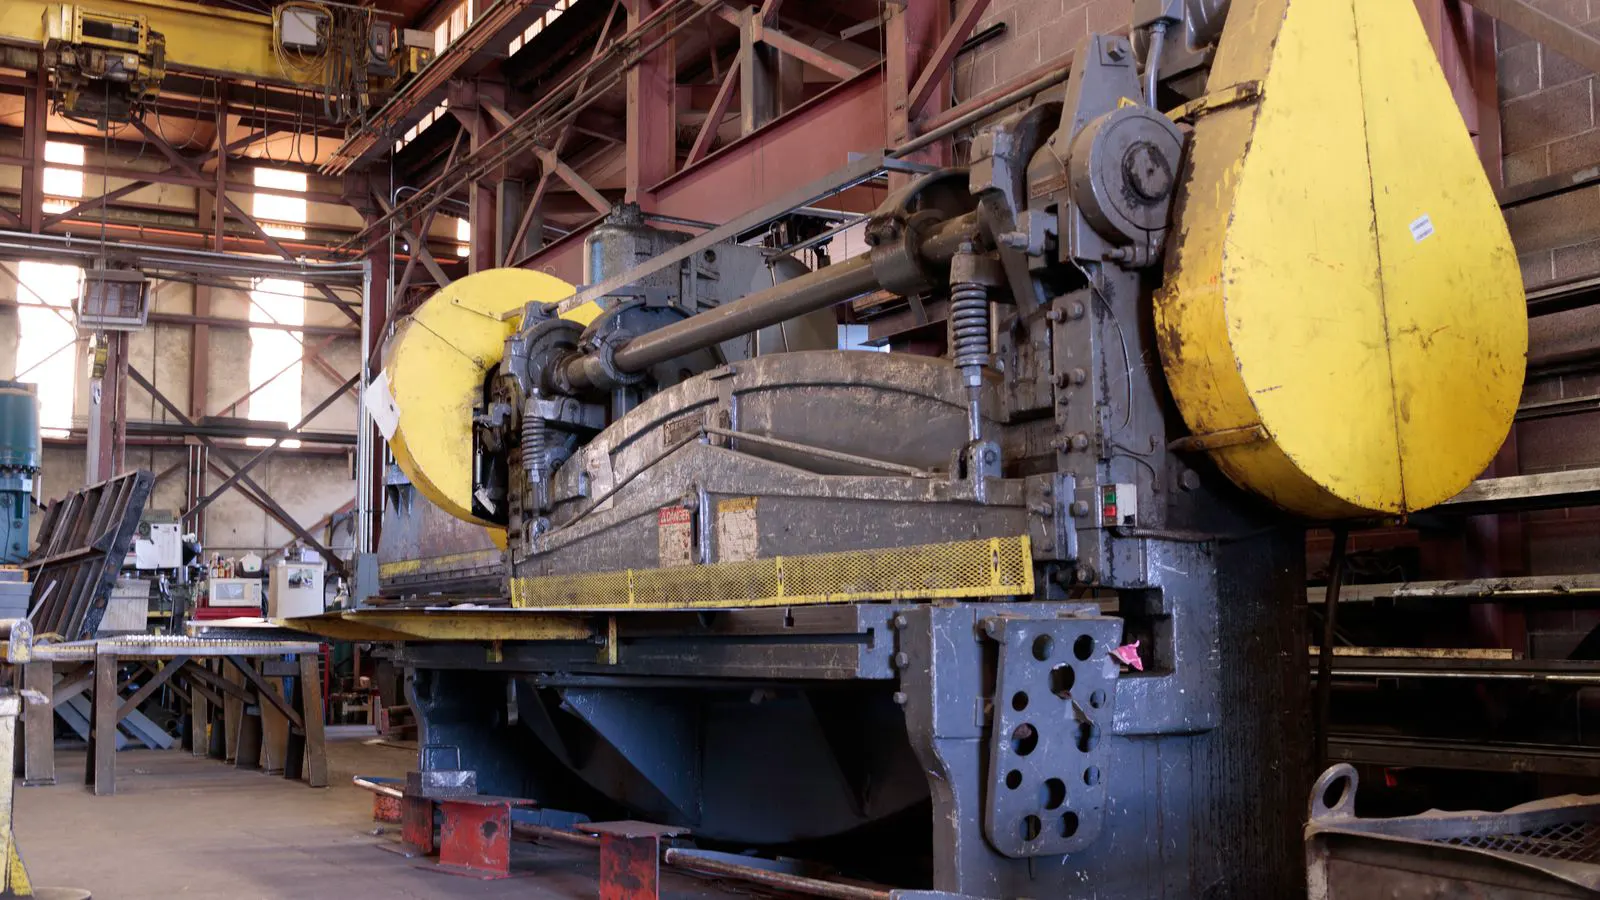
A structured scrap granulator maintenance checklist helps technicians inspect feed rate, blades, and safety systems. Regular checks prevent jams, reduce vibration, and extend the service life of granulator components in industrial recycling facilities.
- Inspect blade wear and feed rate settings before every shift to catch wear early.
- Check belt tension and bearing temperature to prevent unexpected mechanical failure.
- Keep a log of vibration and noise changes to identify problems before they cause downtime.
- Clean the discharge area regularly to maintain consistent particle size and throughput.
- Verify safety guards and emergency stops to keep operators safe during maintenance.
A granulator turns bulky scrap into uniform particles, and its output depends on the condition of the feed path, cutting assembly, and drive train. When maintenance is skipped, feed rate drops, blade wear accelerates, and the machine pulls more power than expected. This checklist gives your team a repeatable routine to catch those issues before they stop production.
How to inspect the feed system before startup
Start with the hopper and feed throat. Look for lodged pieces of scrap, tangled wire, or hardened resin that can bridge the opening. A bridge changes the effective feed rate because material is not falling freely into the cutting zone.
Check the hopper walls and internal chutes for chips or scale buildup. If the material is sticky, the buildup can hold particles against the walls and create uneven feed.
- Look for visible damage to the hopper surface, especially near the feed throat.
- Confirm that the feed gate or feed rate control is free to move.
- Check for worn or cracked feed guides that allow material to bypass the intended path.
- Verify that the feed area is clean enough for the operator to see the material flow.
Red flags: material sticking to the hopper walls, a feed gate that sticks or binds, or a visible gap where scrap can fall outside the cutting path.
What to check on the cutting assembly
The cutting assembly is the heart of the scrap granulator. Blade wear changes the particle size and increases the load on the motor. Inspect the blades at the same interval you would inspect the feed rate, or more often if the scrap is abrasive.
Remove the guard and inspect the cutting and counter blades. Look for nicks, chips, or rounded edges. A small nick can grow into a crack, especially if the blade is under high stress during a jam.
Check the blade mounting hardware. Loose bolts allow vibration to loosen the blades further. Torque the fasteners to the values in the machine manual.
- Inspect the cutting blade edge for nicks or wear.
- Check the counter blade for matching wear and proper alignment.
- Confirm that the blade spacing is even and consistent.
- Look for scoring on the counter blade surface.
- Verify that the blade mounting bolts are clean and properly torqued.
Red flags: visible nicks, uneven blade spacing, scoring on the counter blade, or bolts that are hard to turn due to corrosion.
How to review feed rate and load settings
Feed rate is not just a knob setting. It is the relationship between how much scrap enters the machine and how much the cutting assembly can process. If the feed rate is too high, the machine jams. If it is too low, the blades idle and wear unevenly.
Check the feed rate control before the next run. Compare the current setting with the setting used during the last normal run. If the machine is producing a different particle size or drawing more current, the feed rate may need adjustment.
Look at the motor load reading if your granulator has one. A sudden increase in load at the same feed rate usually means the cutting assembly is working harder than expected.
- Confirm the feed rate setting matches the material type.
- Compare the current load with the baseline for the same material.
- Check that the feed rate control responds smoothly when adjusted.
- Watch for surges in load when a new load of scrap is introduced.
Red flags: load spikes at the start of a shift, a feed rate that drifts on its own, or a particle size that changes without any operator action.
What to listen for in the drive train
The drive train transfers power from the motor to the cutting assembly. Wear here is often silent until it becomes a failure. Listen to the machine at a safe distance while it runs. A new sound is usually a sign of wear.
Check the belt or chain if the machine uses one. Look for fraying, glazing, or uneven wear. A worn belt slips, which changes the effective feed rate and increases the motor load.
Inspect the bearings. They should be cool to the touch after a short run. If they are hot, the lubrication may be low or the bearing may be worn.
- Listen for grinding, knocking, or a rhythmic thump.
- Check belt or chain tension and condition.
- Feel the bearing housing for heat after a short run.
- Look for leaks around the bearing seals.
- Verify that the guard is in place and secure.
Red flags: a rhythmic thump, a belt that glazes or frays, a hot bearing housing, or oil or grease on the drive housing.
How to clean and inspect the discharge area
The discharge area is where the finished particles leave the machine. If it is blocked, the pressure builds inside the granulator and the feed rate drops.
Check the discharge chute, screen, and collection area. Remove chips, fines, or heavy pieces that block the flow. A blocked discharge can cause the machine to overheat and draw more power.
Inspect the screen or opening if your granulator uses one. A worn or damaged screen changes the particle size and can let larger pieces through.
- Clear the discharge chute of buildup.
- Check the screen or opening for damage or clogging.
- Look for fines that can indicate blade wear or overgrinding.
- Confirm that the collection area is dry and free of standing water.
Red flags: a blockage in the discharge chute, a screen with holes that are too large, or a sudden increase in fines in the product.
How to verify safety and control systems
Safety systems protect the operator and the machine. They are also part of maintenance because a failing safety system can cause a machine to run out of control.
Check the emergency stop, safety guards, and interlocks. Pull the emergency stop and confirm that the machine stops and does not restart when the guard is removed.
- Test the emergency stop button.
- Confirm that safety guards lock in place.
- Check that interlocks prevent the machine from starting when a guard is open.
- Verify that the control panel displays no active fault codes.
- Confirm that the machine stops when the power is cut.
Red flags: an emergency stop that does not stop the machine, a guard that does not lock, or a fault code that clears but returns after a reset.
How to track results and keep a maintenance log
A maintenance log is not a formality. It is a record of what you found, what you changed, and how the machine responded. It helps you spot trends before they become failures.
Write down the feed rate, load, particle size, and any unusual sounds or smells. Note the date and the name of the person who performed the check. If you change a blade or adjust a setting, record the before and after values.
- Record the date and operator name.
- Note the feed rate and load reading.
- List any parts inspected or replaced.
- Record any abnormal sounds, smells, or particle size changes.
- Keep the log in a place where the next shift can find it.
Red flags: the same fault appearing after a reset, a load that keeps rising over several days, or a particle size that changes without any operator action.
A quick reference table for the most common checks
The table below gives a compact view of the checks that matter most. Use it as a field reference when the full checklist is not available.
| Check Area | What to Look For | Red Flag |
|---|---|---|
| Feed System | Hopper walls, feed gate, material flow | Bridge or sticking material |
| Cutting Assembly | Blade edge, spacing, bolt torque | Nicks or uneven spacing |
| Feed Rate | Setting, load reading, control response | Load spikes or drift |
| Drive Train | Belt, chain, bearing temperature | Hot bearing or slipping belt |
| Discharge Area | Chute, screen, fines | Blockage or large holes |
| Safety Systems | E-stop, guards, interlocks | E-stop fails to stop machine |
Use this table for a quick pre-start check. Use the full checklist for a weekly or monthly service. The quick check catches the most common problems, and the full check finds the wear that will cause a failure if ignored.
When to call a technician
Some problems are not for a routine maintenance check. If the cutting assembly makes a grinding noise that changes pitch, stop the machine and call a technician. If the motor draws more than its rated load, do not run the machine until the cause is found. If a blade cracks, replace it and inspect the counter blade for damage before restarting.
Do not run a granulator with a missing guard or a disabled interlock. Do not try to clear a jam while the machine is running. Do not adjust the feed rate to hide a mechanical problem. These are the mistakes that turn a small maintenance task into a major repair.
A scrap granulator is a workhorse. It will keep producing if you treat it like one. Inspect the feed system, the cutting assembly, the drive train, and the discharge area. Keep the feed rate in line with the material. Listen to the machine. Write down what you find. The machine will tell you what it needs if you check it regularly.
Frequently asked questions
How often should I inspect the blades?
Inspect the blades at the start of each shift and perform a full inspection on a weekly or monthly basis. Increase the frequency if the scrap is abrasive or if you see a change in particle size.
What is the best way to check feed rate?
Compare the current feed rate setting with the last known good setting and watch the motor load reading. A sudden increase in load at the same feed rate is a sign that the machine is working harder than it should.
Can I adjust the feed rate if the machine is drawing more power?
Lower the feed rate only as a temporary measure. A higher power draw usually means a mechanical problem, such as blade wear or a blocked discharge. Fix the cause before you run the machine at a reduced feed rate for an extended period.
How do I know if a bearing is failing?
A failing bearing often produces a grinding or rumbling noise and can become hot to the touch. If you smell burnt grease or see oil on the drive housing, inspect the bearing immediately.
Should I clean the discharge area every day?
Yes. Remove chips and fines from the discharge chute and collection area at the end of each shift. A blocked discharge area changes the pressure inside the machine and can reduce the effective feed rate.